For four-and-a-half enjoyable years I worked on The Happy Saver blog and podcast from my busy living room. Things often got too noisy, so I’d relocate to the bedroom, the spare room and even to the garage (not the warmest place to be during a Central Otago winter). As time went on I found myself getting up earlier and earlier so I could work in peace before the rest of my family appeared. This worked well, until it didn’t. I started daydreaming about my own dedicated creative space; a small purpose-built, warm and private room out in the garden that I could have all to myself. Ah, bliss!
My husband Jonny and I talked it through. We decided that the blog was clearly here to stay, so we might as well set aside both time and money to create a unique writing space. The idea of a DIY She Shed/Writing Studio/Home Office/Cabin/Garden Retreat was born.
Initially we looked around for a small, warm and portable office that we could just buy. We did locate a beautiful second-hand one but at $9,500 it was more than we wanted to spend. We also looked at hiring a relocatable cabin, which also cost a lot at $3,300 per year minimum. So we quickly ruled out both of these options.
Having remodelled an entire house before, Jonny and I are not new to a DIY project. We quickly started to research building the cabin ourselves because we had both the skills and the time. We had watched enough Tiny House videos to let us know that we could build quite cheaply. Just how cheaply we were not sure, so I set a preliminary budget in Pocketsmith of $1,500. I knew this was a best guess, but it was a starting point.
There were many key considerations for us to wrap our heads around before we even lifted a hammer because I know that any project can get out of hand if you fail to create a detailed plan.
I only wanted a small space that would serve two specific purposes:
That’s it!
We didn’t want to ask too much of this space, so we kept our brief very simple. After breaking out a few yoga moves to test the height, width and length of the space we settled on external floor dimensions of 1800cm x 2400cm, with a raked ceiling for extra height inside for my tree poses!
The dwelling is small enough to need no council sign off or permission from neighbors. It’s also small enough to be lifted onto a truck and taken with us if we ever relocate!

Jonny spent a couple of evenings on YouTube looking for videos that showed basic construction techniques and framing layout for small sheds. Based on that research he drew up a plan of how we would frame out our cabin and what materials we would need.
We chose to use full sheets of plywood, meaning less cutting and wastage. We wanted it to match our house, so we selected the same cladding materials and we found a spot in the yard that it would look great in.
He visited our local hardware store and asked for their advice about what would be the ideal materials for the job and we then went ahead with their suggestions. After all, they are the experts in building, not us!
From his research, Jonny was able to roughly work out how much framing timber, cladding, insulation, screws, nails and other building bits we would need and how much it would all cost.
We also scouted second-hand centers for any materials that we could buy cheaply and re-use. It was only after this research that we were able to firm up an all-included cost of $2,200 to fully complete our cabin. Higher than my original estimate but we now had a figure based on fact. We would be providing all labour and no tradespeople would be needed, so it was a true DIY project.
As mentioned, we sourced second-hand materials wherever we could and by sheer good timing, friends had just finished building a home so we took materials from their leftovers and paid them $100 all up. We already had paint because we had recently painted our own house and we traded beer for Pink Batts insulation because another friend had just the right amount leftover! We purchased the door, window and carpet that we needed from our recycling center all for just $70. Jonny searched his shed for every spare nail and screw he could find, meaning we only had to buy some more when we ran out of our own.
We already had all of the power tools needed for the job and once we had sourced as much as we could secondhand, we visited our local hardware store and paid cash for all of the remaining components on our list. Because they liked the sound of what we were creating, they threw in some extras to help us complete the build. Nice!
Finally, it was time to make a start. Initially we worked on it together as it was a two-person job, but as the build progressed Jonny took over the bulk of the work as he loves this kind of stuff! All up, from start to finish it took just six weeks to finish. The final touch was the completion of the landscaping around it which I did for free using plants and pavers that we already had on our property.
I tracked the entire project in PocketSmith by creating a category called Writing Studio. With a budget of just $2,200, we ended up actually spending $2,417 – a 9% overspend. The additional costs came from buying things to make the job 100% complete like a new foldaway desk, computer monitor and second-hand heater.

However, we were extremely fortunate that both of our birthdays fell within the build period and in lieu of gifts our families donated a total of $300 to our project. Plus, my mother gifted us an extremely generous $200 which she specifically asked to go towards insulation. When it’s freezing outside, I’m toasty and warm all thanks to her! This brought our total outlay down to $1,917, so taking those generous gifts of $500 into account we actually came in under budget.

Building my home office has been a huge success. Since it has been completed I have used it almost every single day and it’s made me a lot more productive in my work. In fact, I’m writing this very blog from my warm and quiet studio with my dog Blue fast asleep at my feet and a lovely view of my garden.
It’s exactly what I wanted, which is the biggest draw of a DIY build. Plus an unintended benefit is that both Jonny and our daughter can also use this space when they want a bit of quiet time too. So this really cost-effective family project has truly turned into a family space.

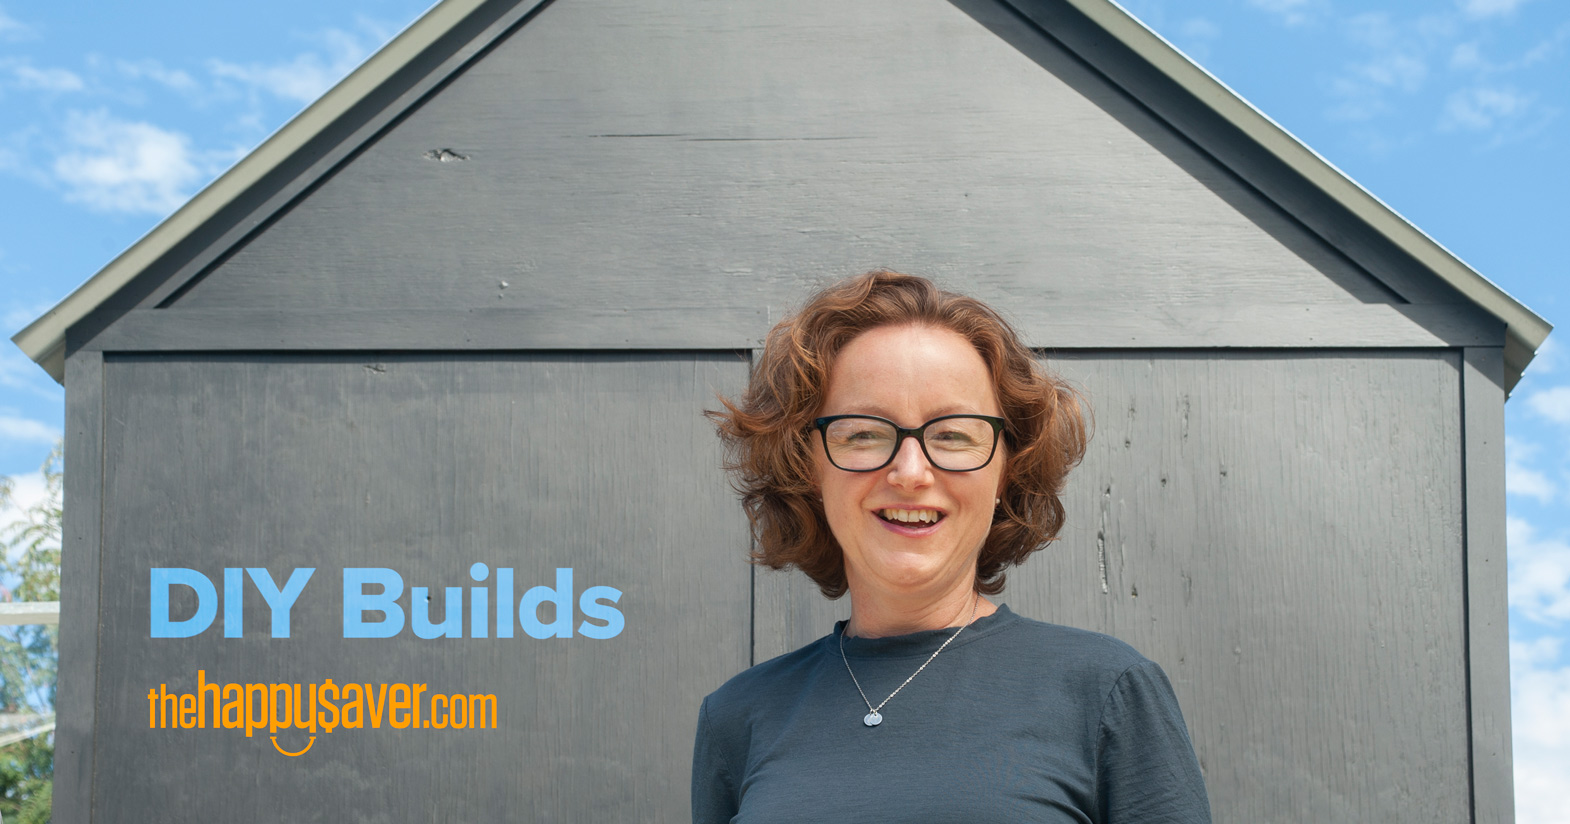
Shed photo by Ruth Henderson, The Happy Saver

Ruth blogs at thehappysaver.com all about how she and her family handle money. What’s the secret? Spend less than you earn, invest the difference, avoid debt and budget each dollar that flows through your hands. She firmly believes that if you can just get the basics right, life becomes easier from there on in.